Gutter guards can come in handy if you want to keep debris out of your gutters. They’re a lifesaver when it comes to cleaning your gutters and maintaining your home’s drainage system. However, they too need some TLC from time to time. Proper gutter guard removal is essential to ensure they function optimally. Here, we’ll walk you through 10 simple steps to remove and clean your gutter guards.
Step 1: Gather Your Tools
Before you start, ensure you have all necessary tools and equipment at hand. You’ll need a sturdy ladder, a pair of work gloves, a bucket, a trowel or scoop, a garden hose with a spray nozzle, and a scrub brush with a long handle.
Step 2: Safety First
Safety is vital in gutter guard removal. Ensure your ladder is on a stable surface and positioned at the correct angle. Always have someone spot you if possible. Put on your work gloves to protect your hands from sharp debris and potential pests.
Step 3: Get on the Ladder
Climb up the ladder carefully, maintaining three points of contact at all times. This means having both feet and one hand securely on the ladder. Once you’ve reached the gutter height, take a moment to assess the condition of the gutter guards. If you notice any damage or loose screws, make a note of it for future repairs.
Step 4: Remove the Screws or Clips
Most gutter guards are secured in place with screws or clips. Using a screwdriver or suitable tool, carefully remove the screws or unclip the guards. Keep these screws or clips in a safe place to ensure you don’t lose them during the cleaning process.
Step 5: Lift and Inspect
With the screws or clips removed, gently lift the gutter guards off the gutter. Inspect the guards for any visible damage or excessive debris buildup. If you notice any major damage, consider replacing the damaged sections before reinstallation.
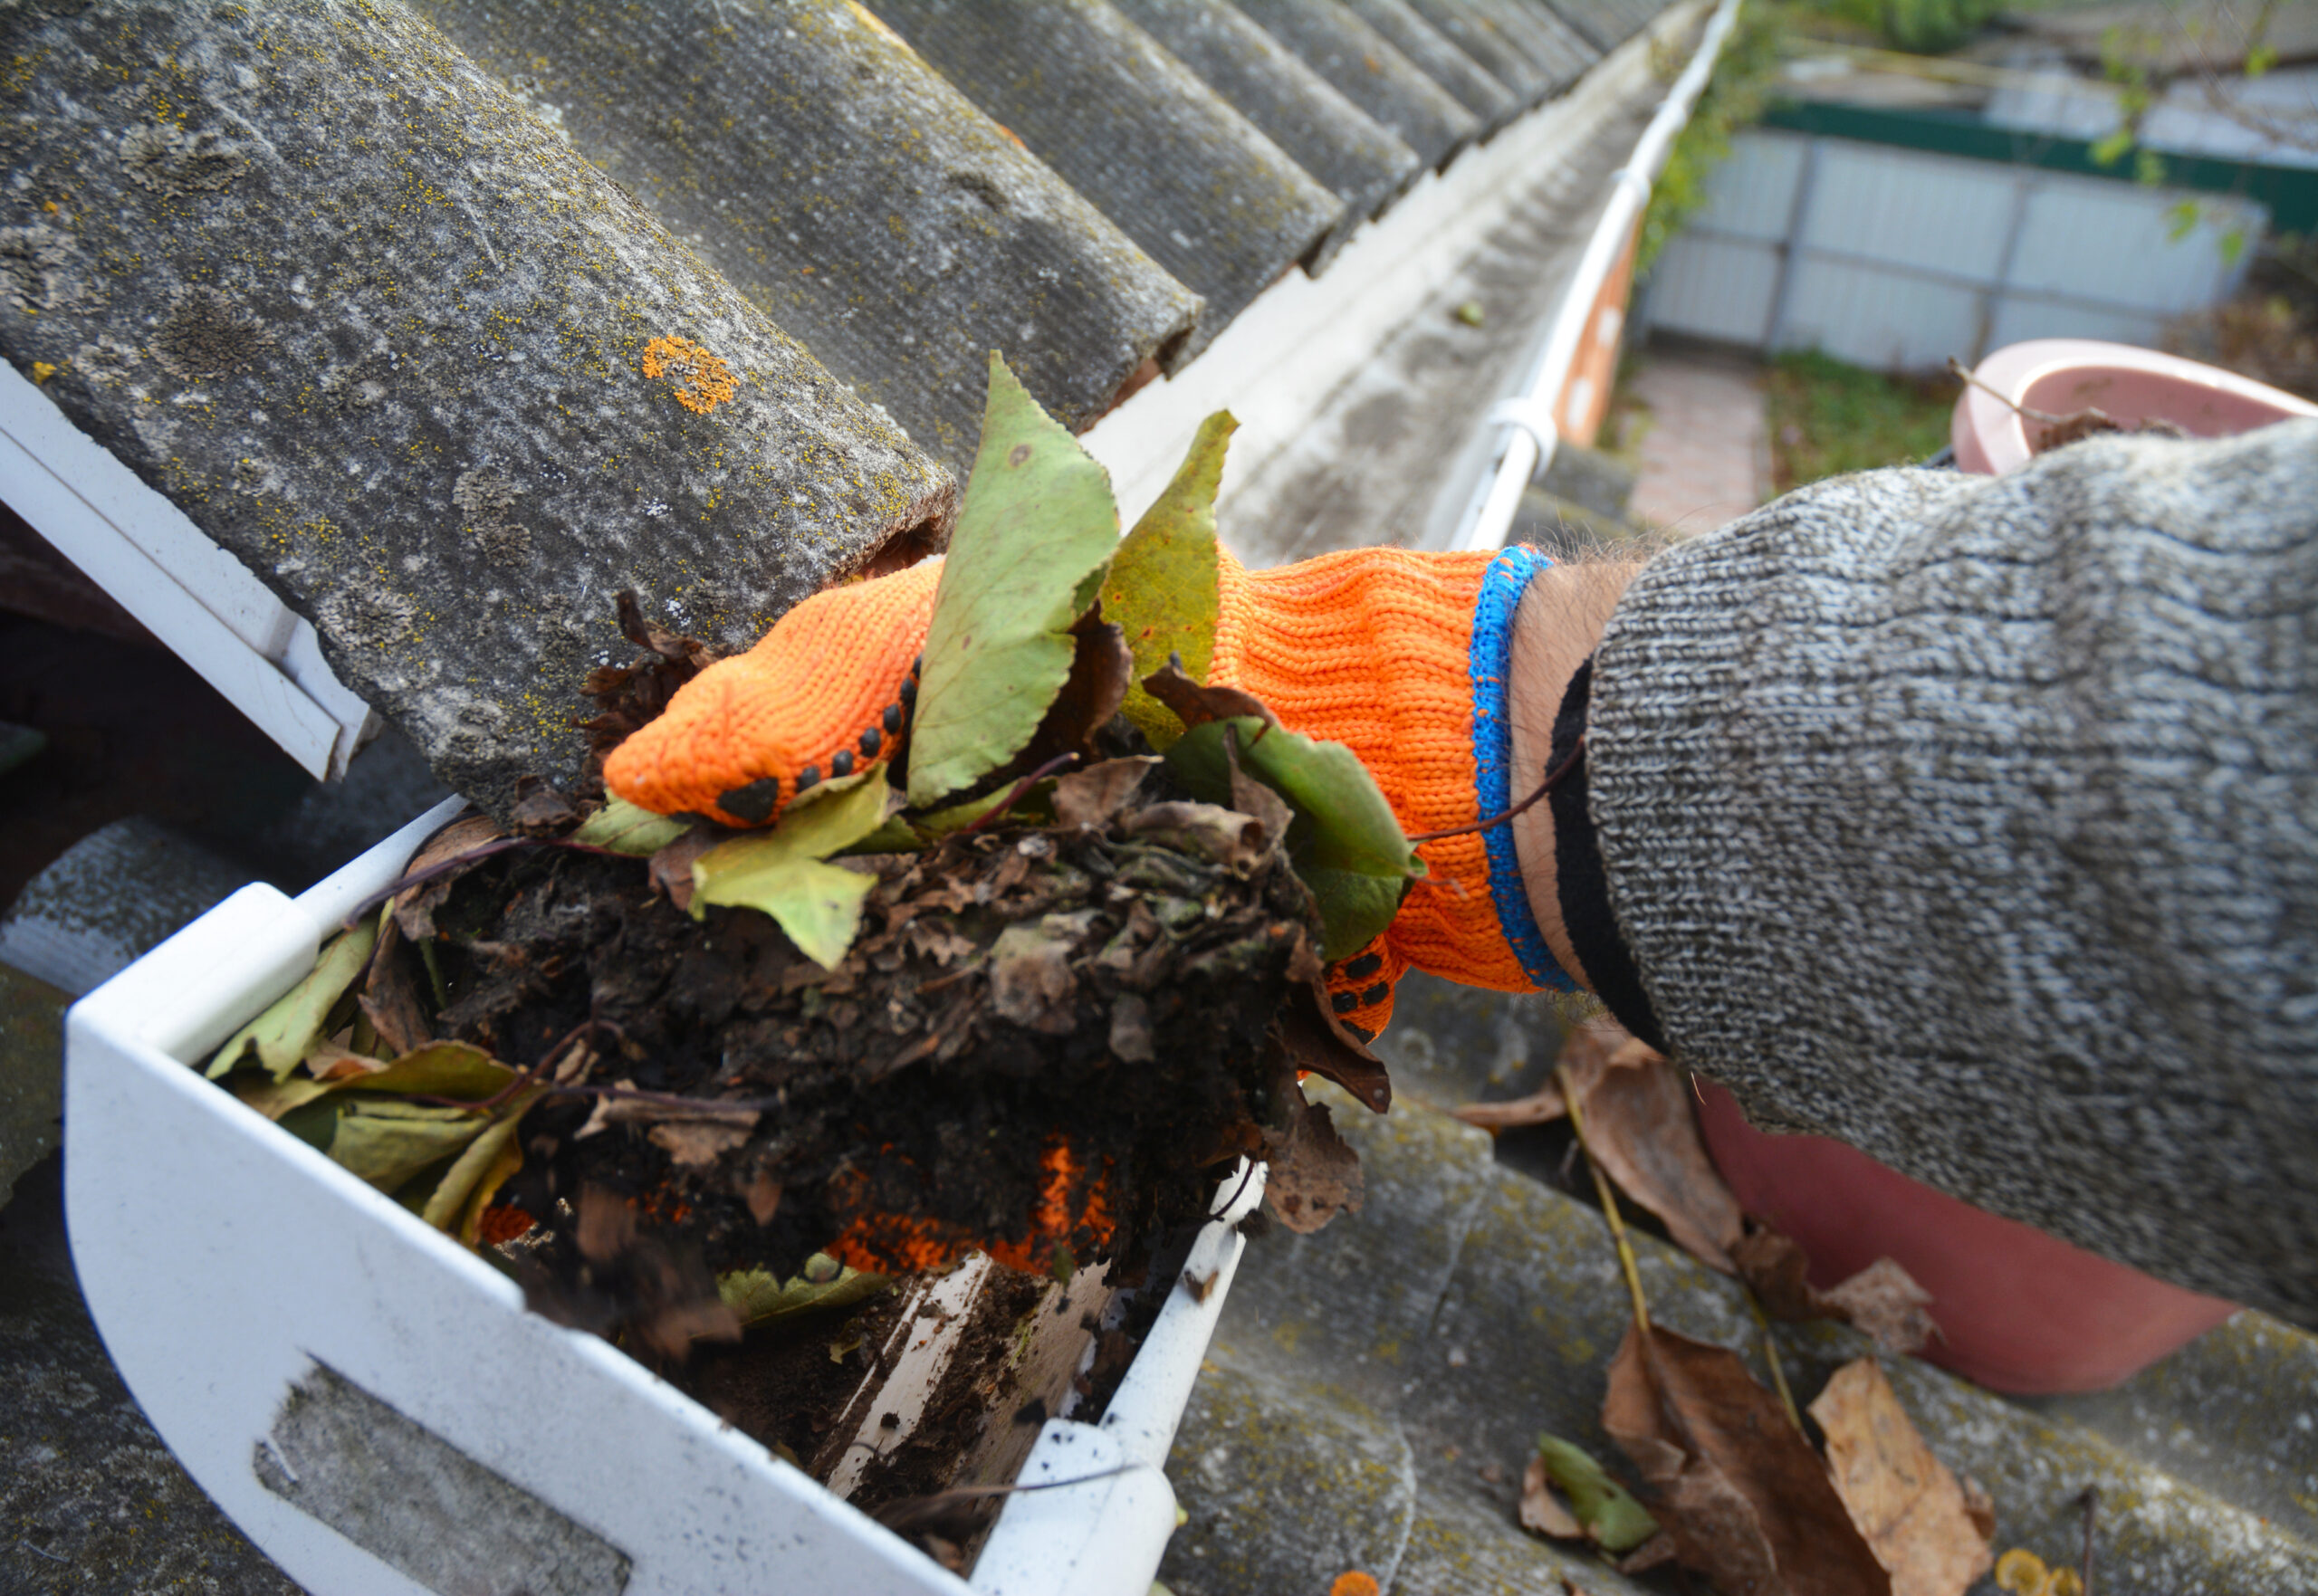
Step 6: Empty the Debris
Place the removed gutter guards next to your work area and use your trowel or scoop to empty the collected debris into a bucket. This can include leaves, twigs, dirt, and other debris that has accumulated over time. Be thorough in your cleaning to ensure unrestricted water flow in your gutters.
Step 7: Rinse and Scrub
Once you’ve removed the bulk of the debris, use your garden hose with a spray nozzle to rinse off any remaining dirt and residue. For stubborn buildup, take your scrub brush with a long handle and gently scrub away the dirt. Pay extra attention to the areas where water flows, as these need to be clear for proper drainage.
Step 8: Reassemble the Gutter Guards
After cleaning and ensuring the guards are free from debris, reattach them to the gutters. Carefully position the gutter guards back in place and secure them with the screws or clips you removed earlier. Ensure they fit snugly and are properly aligned with the gutter.
Step 9: Test the Flow
Before you pack up your tools, it’s essential to check if everything is in working order. Use your garden hose again and run water through the gutters to ensure that water flows smoothly and there are no clogs or leaks.
Step 10: Clean Up
Once you’re satisfied with the flow and confident that everything is back in working order, safely descend the ladder. Collect all your tools and equipment and clean up the work area. Dispose of the debris you collected appropriately.
Conclusion
Cleaning your gutters is a crucial part of home maintenance that can help prevent costly damage down the line. By following these simple steps, you can ensure your gutter guards are properly removed, allowing you to clean them and ensure your entire gutter system is functioning as it should. So don’t put it off any longer! Grab your tools and get those gutter guards cleaned today!
Need assistance? Give us a call and our experts will be happy to help!